today we will install windows server 2003 in that virtual machine to setup our domain controller in our testing network.
Once you login to the VMware server console, you should be able to see the virtual machine in the right top corner

Once you login to the VMware server console, you should be able to see the virtual machine in the right top corner

Then click on the white arrow to turn on the virtual machine on. once you have turned the virtual machine on, the Windows Server 2003 installation wizard should come up:

Make sure the Windows Server 2003 CD is inserted in the CD-ROM and press ENTER to continue the installation of Windows Server 2003.
The Windows License agreement will come up next, press F8 to accept the agreement.
Next, the setup will ask you where you want to install the server, and the 10 GB of un-partitioned space will show up:

Press “Enter” to continue the install. In the following window, you need to format the drive with NTFS file system:

The formatting should start. quick after, setup will start copying the system files to the hard drive:

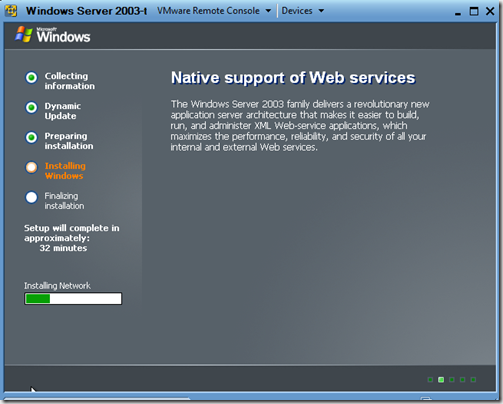
That will take awhile. Then the computer will restart. The Windows Server 2003 setup will continue.

Next, the regional and language settings will come up:

Next, choose the name and organization. Next you will need to Enter the product key. if you downloaded Windows Server 2003 from the internet, make sure the Product key was included.
After you have entered the product key, click next. On the next window, you need to choose between per server or device mode. Choose per server mode, and increase the concurrent connections to 10:

Click Next. On the next window, name the computer, and choose an administrator password.
Click next. On the next screen, you need to specify the time and time zone you are at. And that will be the information windows 2003 server will need for now, the installation should continue:
Next, Windows setup will ask you for network settings. choose typical and click next. Next, setup will ask you if you want to join a domain or leave it as workgroup. leave as Workgroup because later we will make this computer a domain controller. click next.
Setup should continue. The installation of Windows Server 2003 should now be completed.
Comments